There are some quirks related to running standalone Home Assistant (HA) from a Docker container. I found that the route to enable support and add a device using ZWave is not well documented for this HA configuration, especially for someone new to and unfamiliar with ZWave.
Running ZWave JS server #
My biggest bugaboo was that…
Without a ZWave hub on the network, a standalone ZWave server is needed to mediate the ZWave network and communicate with HA. I was able to run an official zwavejs/zwave-js-ui container image, and pass my ZWave USB dongle device through to “/dev/zwave”.
|
|
The web UI is exposed on port 8091 by default, and HA will communicate with the server over API port 3000.
Enable ZWave integration #
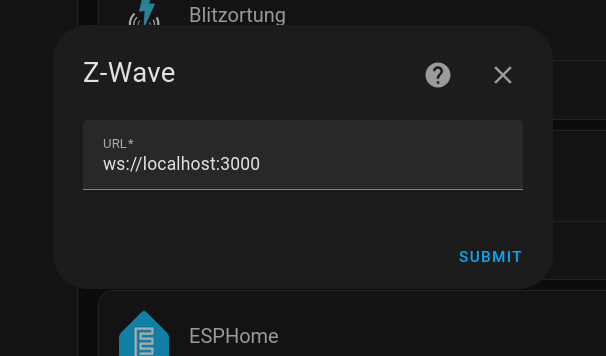
To enable ZWave support in HA, add the “Z-Wave” integration and point to the address of the ZWave JS server, including port 3000. This might be different in the case of other HA flavors and setups. I imagine that you can provide the IP to a dedicated ZWave hub here too.

ZWave integration in Home Assistant needs to connect to the ZWave server.
Add a ZWave device #
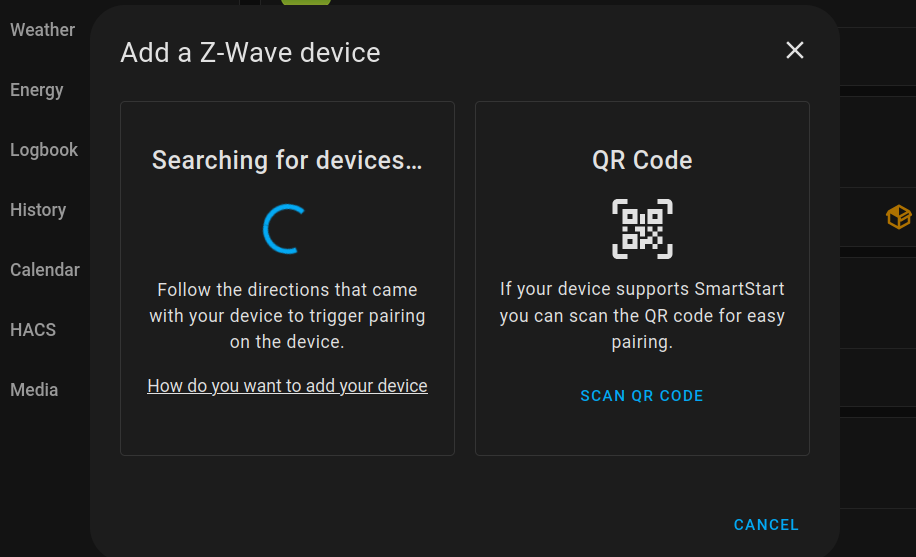
Once HA has added the ZWave server, a new integration labeled “Add Z-Wave device” will become available. Selecting this will provide two options for adding devices. Neither of these worked for me right away in the case of the First Alert smoke alarm I was attempting to add.

Interface to add ZWave device to Home Assistant.
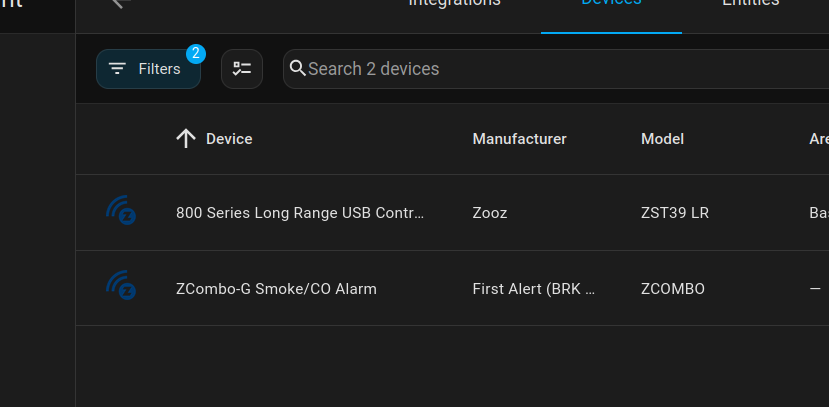
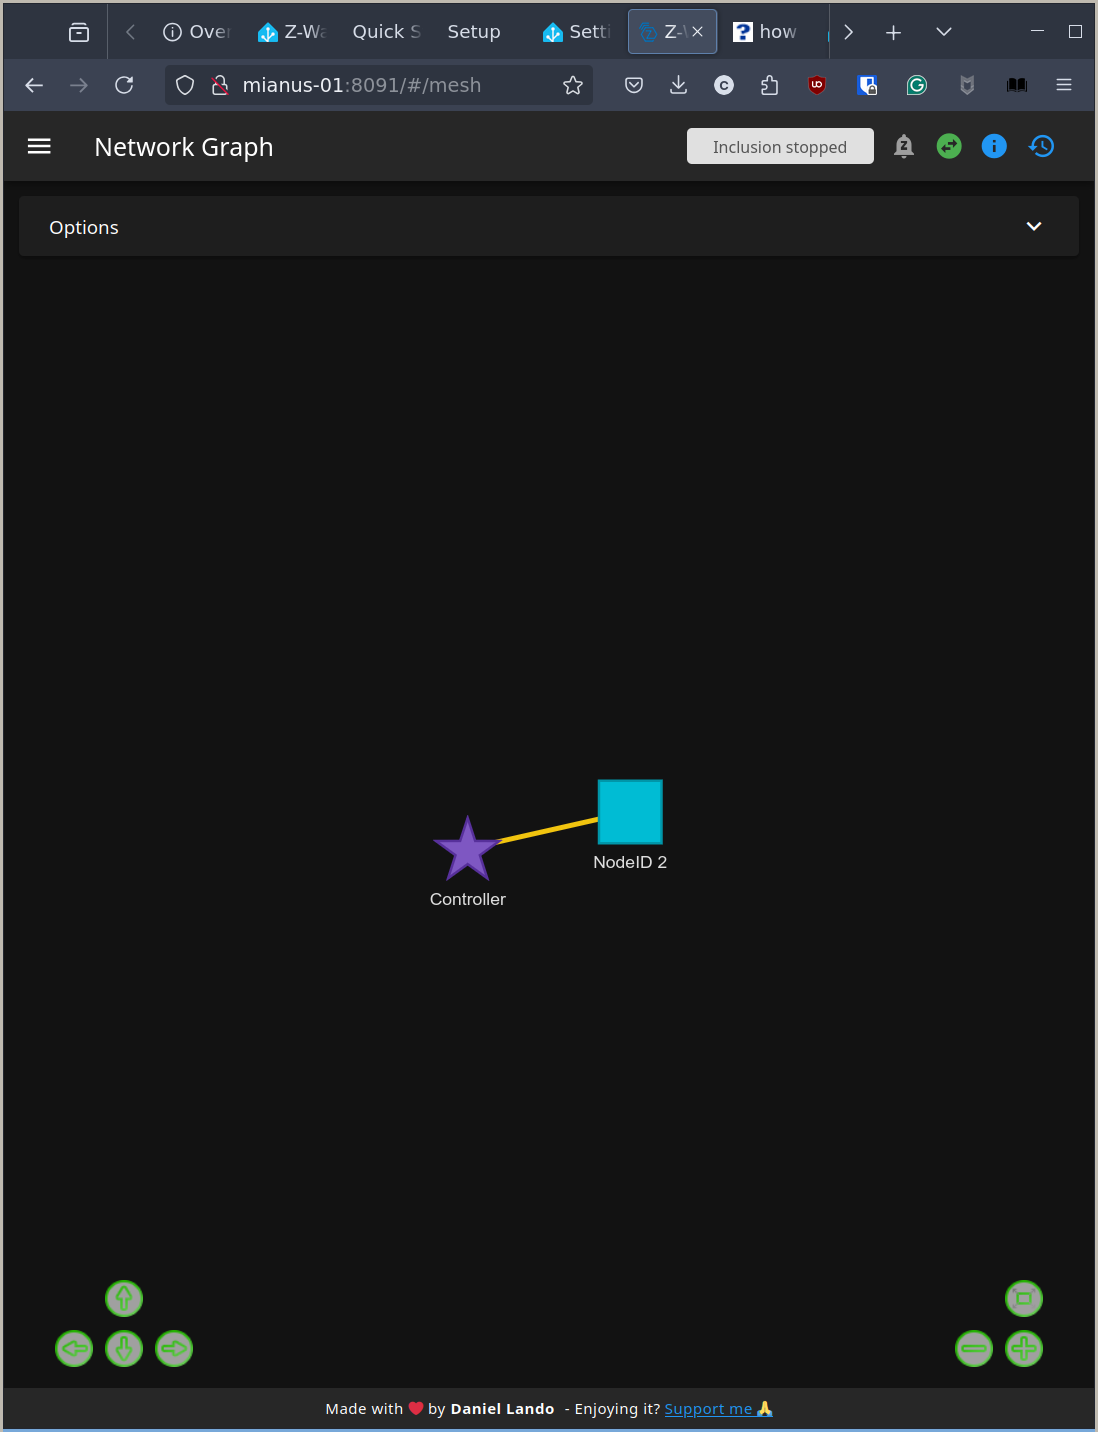
I was ultimately able to add the device with some combination of scanning the QR code, either from the HA app or the ZWave JS server UI using my phone and it’s camera. It automatically appeared in both HA and the ZWave server UI once it was officially detected and added to the network.

Discovered devices in HA ZWave integration.

Discovered devices in ZWave web UI.